


有很多人不了解DirectX修复工具安装操作步骤,那么今天小编就在这里给大家分享一点我的小经验,希望可以给你们带来帮助。
DirectX修复工具安装操作步骤

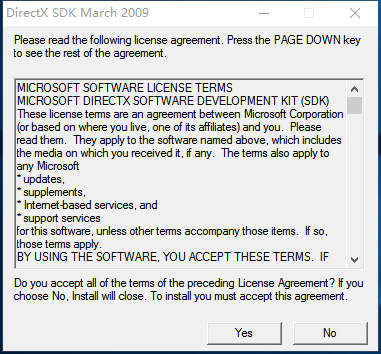
1、自该页直接下载DirectX修复工具,解压并运行。双击打开下载的.exe文件,点击【yes】
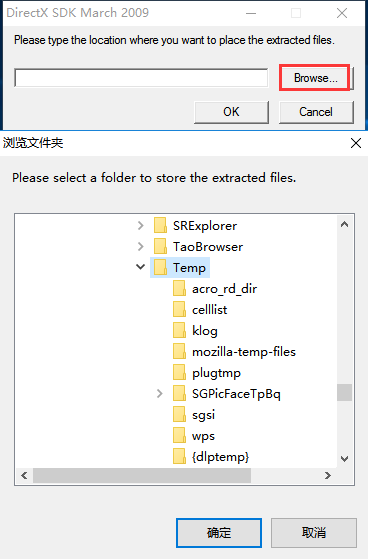
2、点击【browse】选择合适的安装位置后点击【ok】
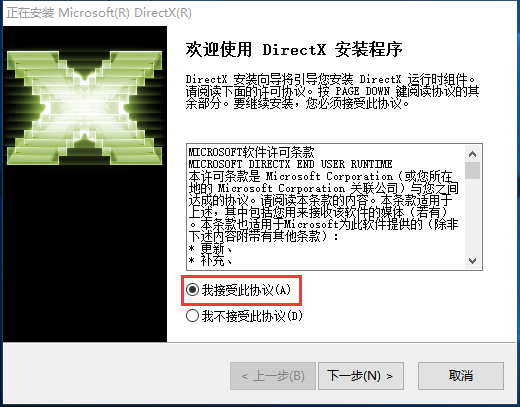
3、在选择的文件安装包位置处找到如图所示的文件双击进行安装
4、对许可条款选择我接受后点击下一步
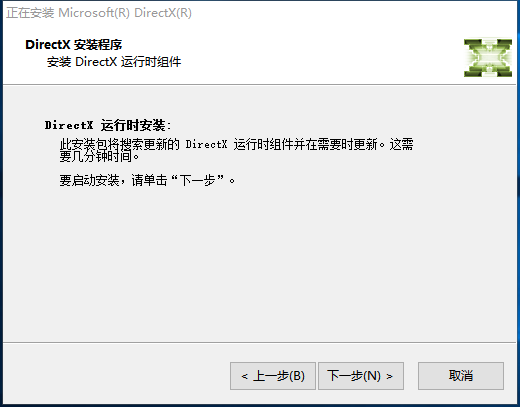
5、再次点击下一步
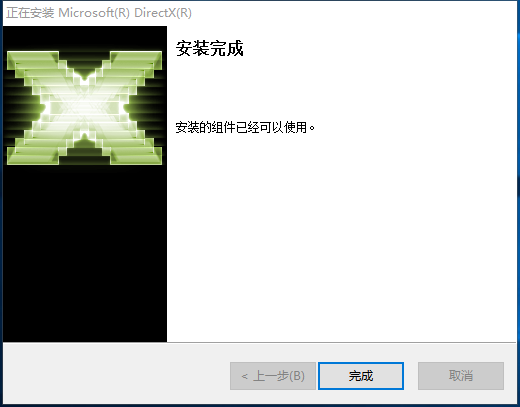
6、耐心等待即可完成安装
上述方法为小编整理所得,希望能够帮助到大家。